Understanding the Pocket Hole Jig and Its Benefits
Pocket hole joinery is one of the fastest ways to assemble strong, hidden wooden joints. It relies on a specialized jig that guides a drill bit at an angle into one board. This angled hole then accepts a self-tapping screw to pull the joint tight. The result is a clean, professional connection without visible fasteners.
This method works perfectly for face frames, cabinet boxes, and furniture building. It requires minimal clamping time and no complicated joinery skills. You can even create joints in tight spaces where traditional fasteners would fail. The pocket hole jig makes consistently angled holes a repeatable process.
Most jigs include a clamp, guide block, and a stepped drill bit. The stepped bit drills the screw pocket and a pilot hole in one motion. Once you understand the core principles, you’ll find countless applications for this system. It’s an essential tool for both beginner and experienced woodworkers.
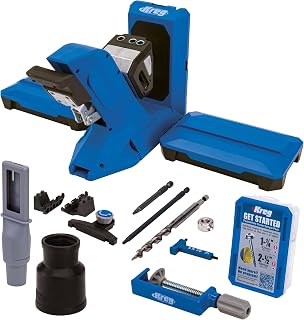
Kreg Pocket-Hole Jig 720PRO
Check PriceSelecting the Right Pocket Hole Jig for Your Workshop
Several types of pocket hole jigs are available, from portable single-hole versions to benchtop production models. A benchtop jig like the Kreg K4 offers speed and dust collection, making it ideal for frequent use. Compact jigs are lightweight and clamp directly onto the workpiece, perfect for on-site repairs. Your choice depends on the scale of your typical projects.
Look for a jig with hardened steel drill guides for longevity. Adjustable models let you set the guide height to match different material thicknesses easily. Some kits include a built-in clamping system and a carrying case. For precision joinery, visit our analysis of top pocket hole jigs to compare features.
Consider the maximum capacity of the clamp and how smoothly the depth collar locks. A tool-free depth setting collar speeds up your workflow significantly. You’ll also appreciate a dust port that connects to a shop vacuum. The right jig turns a complex task into a simple, repetitive job.
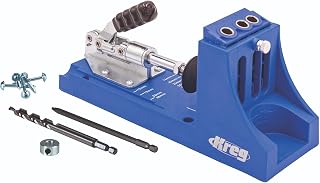
Kreg Pocket Hole Jig K4
Check PriceKey Components Every Pocket Hole Jig Kit Should Include
A complete kit gives you everything needed for strong joints. The stepped drill bit is ground specifically to create the pocket and a pilot hole without tear-out. A depth collar locks onto the bit and controls how far it enters the material. The square drive bit is hardened to prevent stripping the screw heads during assembly.
Most kits also include a variety of specialized pocket hole screws. Coarse thread screws are for softwoods, while fine thread screws work best in hardwoods. A dedicated face clamp holds the joint perfectly flush while you drive the screw. You’ll often find a quick reference chart inside the case lid, a simple guide you should always follow.
Some premium kits add accessories like a right-angle clamp or a screw length gauge. The stepped bit and collar are critical, so keep them clean and sharp. If the bit becomes dull, your holes will have rough walls that weaken the joint. For more on drill bits, our comprehensive guide explains bit sharpening and care.
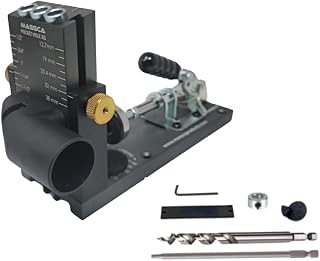
Massca Pocket Hole Jig Kit M1
Check PricePreparing the Jig, Matching Material Thickness and Depth Settings
Start by measuring the exact thickness of your workpiece. Pocket hole jigs rely on a simple ruler or onboard gauge to set the drill guide height. For three quarter inch material, you slide the guide to the three quarter inch mark and lock it. The depth collar on the bit must also align with the same dimension.
Place the stepped bit into its guide sleeve and seat it fully. Then adjust the collar so that the distance from the tip to the collar edge matches the material thickness. Tighten the collar securely with the provided hex key. This step prevents drilling too deep and breaking through the workpiece face.
Always double check the setting on scrap wood before working on your final piece. A test cut reveals if the collar slipped or if the guide height is off. This habit saves expensive hardwood from unsightly blowouts. Proper depth calibration is the foundation of every successful pocket hole joint.
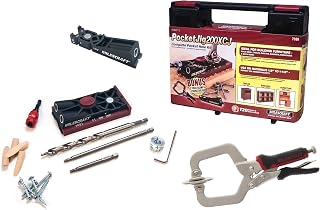
Milescraft Pocket Jig 200XCJ
Check PriceDrilling Precise Pocket Holes, Step by Step
Clamp the jig firmly to the end of your board, ensuring the base sits flush against the wood. Insert the drill bit into the guide until the collar contacts the bushing. Start the drill at full speed before the bit touches the wood to minimize tear-out. Apply steady, moderate pressure and let the bit do the work.
Slow down the drill as you approach the collar stop to avoid plunging too fast. Listen for the smooth cutting sound that indicates clean chip ejection. Withdraw the bit while the drill is still spinning to clear debris from the hole. Repeat this process for each pocket location marked on your board.
If using a benchtop jig, align the workpiece against the fence and trigger the clamp. Drilling becomes a simple, repetitive task once the jig is locked in place. For portable jigs, you may need to reposition the clamp for each hole. Over time, you’ll develop a rhythm that produces identical, clean pockets every time.
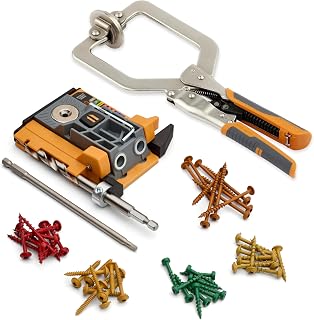
BORA Automatic Pocket Hole Jig Kit
Check PriceChoosing the Correct Screw and Adding Glue for Superior Strength
Pocket hole screws have a flat, washer style head that seats into the stepped hole. Use coarse thread screws for pine, cedar, and plywood. Fine thread screws are for dense materials like maple, oak, or cherry. The screw length must allow the tip to penetrate the mating board by at least one half inch.
Applying wood glue to the mating faces adds tremendous strength to the joint. Spread a thin, even layer on both contact surfaces before aligning the pieces. The screw alone provides clamping force, but glue creates a bond that locks the fibers together. This combination yields a joint stronger than the wood itself in many tests.
Always keep the glue away from the screw threads inside the pocket. Excess glue can gum up the thread path and prevent proper seating. A small brush offers precise control, and you can wipe away squeeze out with a damp rag. For additional finishing tips, many professionals reference basic techniques that guarantee success.
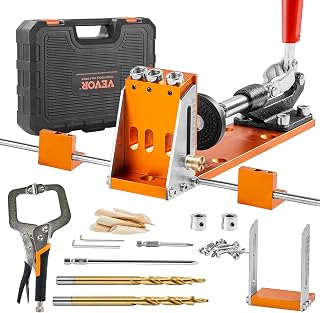
VEVOR Pocket Hole Jig Kit 34 Pcs
Check PriceClamping and Assembly Techniques That Prevent Misalignment
Align the two pieces and secure them with a face clamp before driving the first screw. The faces must be perfectly flush because the screw will lock any misalignment in place. A right angle clamp holds the joint square during assembly, which is critical for cabinet carcasses. Slight pressure on the clamp prevents the parts from shifting.
Drive the pocket screw slowly and stop once the head seats firmly in the bottom of the pocket. Overdriving can strip the hole or split the material. If you hear a sudden crack, stop immediately and check the wood. A clutch setting on your drill prevents over tightening and saves your project from damage.
For long edge-to-edge joints, place screws every six to eight inches. Use a straightedge to check for flatness after each screw. If a small gap appears, loosen the clamp, realign, and then re-tighten. Patience during assembly translates directly into furniture that looks professionally built.
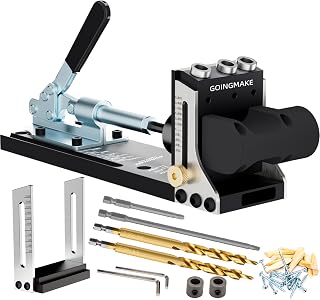
GOINGMAKE All Metal Pocket Hole Jig Kit
Check PriceHow to Use a Pocket Hole Jig on Different Wood Types
Softwoods like pine compress easily and benefit from coarse thread screws with a sharp tip. Hardwoods require a pilot hole and fine thread screws to prevent splitting. For plywood, set the depth collar carefully and avoid drilling into voids in the inner plies. Dense exotic woods may need a lubricated screw to ease insertion.
Always adjust the clutch on your drill when moving from soft to hard materials. Test on an offcut that matches your workpiece species and thickness. The goal is to seat the screw head without overdriving. Hardwood can grab the screw and stall the driver, so slow, controlled pressure works best.
Sheet goods like MDF and particleboard hold pocket screws surprisingly well if you use the proper screw type. Look for screws labeled specifically for composite materials. They have a more aggressive thread pattern that bites into the dense core. The same clamping rules apply for all substrates, never skip the dry fit.
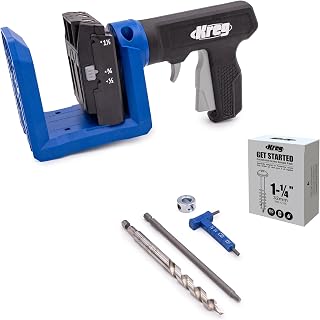
Kreg Pocket-Hole Jig 520
Check PriceCommon Errors That Ruin Pocket Hole Joints
Drilling into the wrong face is a frequent mistake that destroys the joint. Always mark the inside face, the one that will be hidden after assembly. Drilling at an angle that goes too shallow creates a weak screw grip. Conversely, drilling too deep can blow out through the opposite side.
Using the wrong screw length is another classic error. A screw that is too short won’t bite enough material to create a strong connection. One that is too long pokes through the surface, ruining the project’s appearance. Always refer to the jig’s onboard chart or the screw package for guidance.
Neglecting to clamp the joint before driving the screw leads to misalignment. The powerful screw action can slide the boards apart, creating a stepped seam. A dedicated face clamp is inexpensive and solves this issue completely. Forgetting to set the depth collar properly causes half the problems in pocket hole joinery.
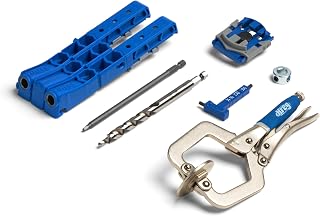
Kreg Pocket-Hole Jig 320
Check PricePro Tips for Faster, Cleaner Pocket Hole Joinery
Apply a small strip of painter’s tape over the hole location before drilling. This trick virtually eliminates tear-out on the exit side of the bit. Keep a can of compressed air or a small brush nearby to clear chips from the jig. A clean guide block ensures the bit spins freely and stays cool.
Build a dedicated drilling station with a dust collection hose. Connecting a shop vacuum to the port catches fine dust and keeps your workspace clean. Use a depth collar that has clear markings etched on the steel, not just printed. Etched markings won’t rub off and remain readable for years.
Pre-load screws into a magnetic wristband or a small dish for efficiency. Batch out all your drilling operations first, then switch to assembly mode. This assembly line approach saves time on big projects. A cordless drill with a clutch and variable speed gives you total control during both drilling and driving.
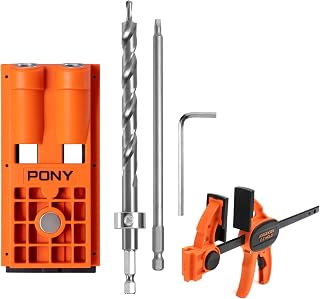
Pony Complete Pocket Hole Jig Set
Check PriceMaintaining Your Pocket Hole Jig for Long Lasting Performance
The steel drill guides need occasional lubrication to prevent rust and reduce friction. A drop of light machine oil on the bit shank protects both the bit and guide. After a long session, wipe down the jig body with a dry cloth to remove resin buildup. Storing the jig in its case prevents the guides from getting knocked out of alignment.
The stepped drill bit will eventually require sharpening or replacement. A dull bit burns the wood and creates rough pocket walls that weaken screw holding power. Most manufacturers sell replacement bits, so keep a spare on hand. For sharpening advice, see our detailed drill bit sharpener reviews to find the right tool.
Check the depth collar set screw periodically for tightness. A loose collar leads to inconsistent hole depths across your project. If the clamp mechanism feels sticky, clean the threads and apply a dry lubricant. Proper care ensures that your jig delivers identical results from the first hole to the ten thousandth.
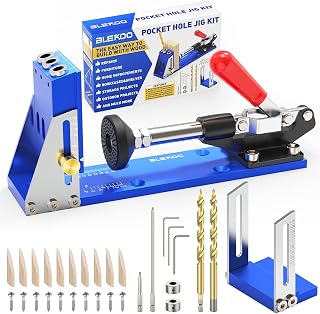
Upgraded Pocket Hole Jig Tool Kit
Check PriceFrequently Asked Questions About Pocket Hole Jigs
Do I need to use glue with pocket screws?
Glue is highly recommended because it adds long-term strength and prevents squeaking. The screw primarily clamps the joint while the glue cures. Without glue, the joint may loosen over time with seasonal wood movement. The combination is much stronger than screws alone.
How far apart should I place my pocket holes?
Space screws roughly six to eight inches for edge joining. For narrow face frames, two screws per joint are sufficient. Stretcher joints often need only one screw in the center. The rule is to use enough screws to pull the joint tight without overloading the wood.
Can I use a pocket hole jig on very thin plywood?
Thin material under half inch is tricky but possible with micro pocket hole systems. These use smaller screws and a narrower bit to avoid breaking through. Always test on scrap first. For half inch plywood, standard jigs with the correct setting work reliably.
Why does my screw keep breaking or stripping?
This often happens when you overdrive, use incorrect clutch settings, or choose the wrong thread type. Hardwood demands a fine thread screw and a pilot hole. If the bit is worn, the screw head won’t seat properly. Reduce your drill’s torque and drive slowly.

Pocket Hole Jig Kit 3-Hole Metal
Check PriceFinal Thoughts on Mastering the Pocket Hole Jig
Learning how to use a pocket hole jig transforms your woodworking capabilities overnight. It replaces complex joinery with a reliable, repeatable system that anyone can master. The secret lies in precise setup, sharp bits, and consistent clamping discipline. Once you internalize these steps, you’ll build projects faster and with greater confidence.
Invest in a quality jig that matches your workshop volume and keep it well-maintained. The cost of entry is low compared to the speed and strength it delivers. Remember, no technique eliminates the need for careful measuring and dry fitting. Always test your settings on an offcut before committing to your final workpiece.
With a bit of practice, you’ll develop an instinct for screw placement and clamping pressure. Soon pocket hole joinery becomes second nature, an indispensable skill in your woodworking toolbox. Explore our other resources on best drill drivers to find the perfect tool for driving those screws. Now grab your jig, head to the shop, and enjoy building.
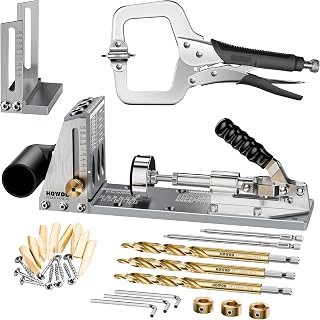
Professional Metal Pocket Screw Jig System
Check PriceDisclosure: As an Amazon Associate, we earn from qualifying purchases at no extra cost to you. Our posts are created with AI tools and human editing.