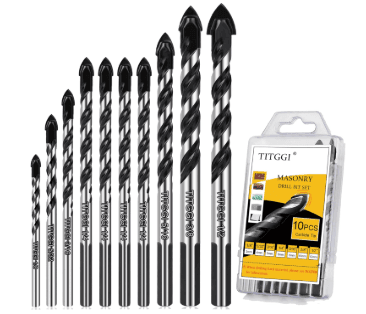
Building a pocket hole jig at home gives you the freedom to create strong, clean joints without a trip to the store. A homemade version works exactly like a commercial model, drilling angled holes for screws that pull two pieces of wood together tightly. You control the quality, size, and features, which means you can tailor the jig to the specific projects on your bench. Plus, crafting your own tool sharpens your woodworking intuition and saves you a significant amount of money.
Before you pick up a drill, gather a clear understanding of how pocket hole joinery functions. The concept is simple: an angled hole is bored into one workpiece, stepping down to a smaller pilot hole for the screw threads. This geometry pulls the mating board flush against the drilled piece, hiding the fastener completely. Mastering this joint means you can assemble face frames, cabinets, and furniture with remarkable speed.
Understanding Pocket Hole Joinery
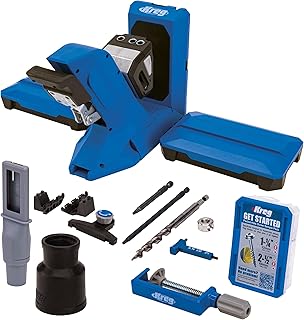
Kreg Pocket-Hole Jig 720PRO
Check PriceThe hidden screw method relies on a stepped drill bit that creates both the pocket and the guide hole in one pass. This special bit enters the wood at a shallow angle, typically 15 degrees, which provides maximum mechanical grip while keeping the screw head below the surface. Once the screw is driven into the adjacent board, the joint clamps itself tight, often eliminating the need for separate glue clamps. You’ll find this technique especially helpful when building cabinet frames, tabletops, or any assembly where visible screw heads would spoil the look.
A DIY jig simply guides that stepped bit precisely at the right angle and depth. Store bought jigs use hardened steel drill guides, but in your workshop you can achieve the same accuracy with a carefully bored hardwood block or a metal bushing. The jig’s body must hold the workpiece securely while you drill, and it must position the bit at a consistent distance from the edge. Once you understand these requirements, designing your own becomes a straightforward exercise.
Before starting, it’s worth exploring how commercial jigs refine the process. For example, reading a review on choosing a high quality pocket hole jig reveals features like dust collection ports and self-clamping mechanisms. You can incorporate simplified versions of those ideas into your homemade design. The goal is a reliable tool that matches the performance of factory jigs while reflecting your personal craftsmanship.
Essential Materials and Tools You’ll Need
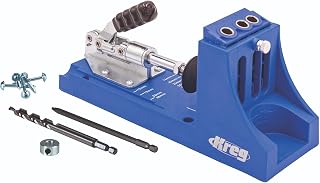
Kreg Pocket Hole Jig K4
Check PriceStart with a solid hardwood blank like maple or oak for the jig body; it needs to resist wear from repeated drilling. You will also need a stepped pocket hole drill bit and a matching stop collar to control depth, the same type used in factory jigs. A cordless drill, a set of Forstner or brad point bits, and a sturdy wood clamp round out the essentials. Additionally, keep 220 grit sandpaper, wood glue, and a combination square on hand for accurate layout.
The most critical component is the drill guide. Many DIY builders use a steel bushing or a hardened drill sleeve pressed into a drilled hole in the wooden body. If you prefer an all-wood solution, you can harden the guide hole by soaking the wood fibers with thin cyanoacrylate glue and then redrilling. Both methods deliver enough precision for dozens of assemblies, provided you align the bushing carefully.
Don’t overlook clamping support. Your jig will need a way to fasten itself to the workpiece or a workbench so it doesn’t shift during drilling. A simple F clamp or a quick release bar clamp is often sufficient, but you can build an integrated toggle clamp directly into the jig base. Proper clamping is what transforms a basic guide block into a repeatable, shop worthy tool.
Crafting Your Own Jig: A Step by Step Guide
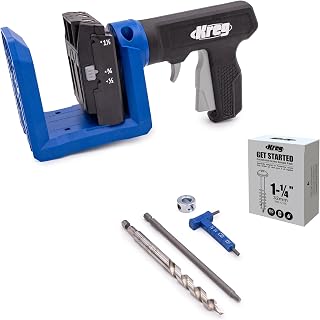
Kreg Pocket-Hole Jig 520
Check PriceBegin by cutting a hardwood block to roughly 3 inches tall, 6 inches long, and 2 inches thick. Mark a 15 degree angle across the face that will guide your drill path, using a protractor or digital angle finder for precision. Clamp the block securely and drill a straight hole at that angle using a bit slightly larger than your stepped bit’s shank. This angled bore will later accept the steel bushing or serve as the hardened guide channel.
If you are using a bushing, coat it with epoxy and press it into the hole, aligning it flush with the entry face. Check that the bushing does not protrude into the clamping area where it would interfere with the workpiece. Once the epoxy cures, drill a smaller viewing hole from the side to let you see when the bit reaches the correct depth. This simple modification eliminates guesswork and prevents blowout on the back side of your good lumber.
Next, add a fence that registers the jig against the edge of the board. Glue and screw a straight hardwood strip along the bottom of the jig body, ensuring it sits exactly perpendicular to the drill guide. This fence controls the distance from the edge, which determines how much screw length enters the second workpiece. When you want to replicate spacing, you can refer to a guide on mastering the use of a pocket hole jig to see exactly how commercial models set that offset.
Selecting the Right Drill Bit and Stop Collar
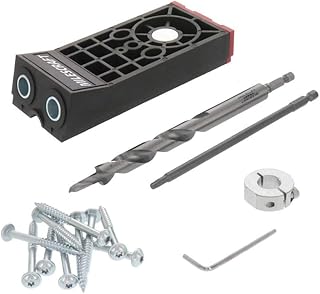
Milescraft PocketJig300
Check PriceThe stepped drill bit is the engine of the entire pocket hole system. You need a bit that matches your screw size, typically a 3/8 inch step for 1 ¼ inch screws and a slightly larger step for coarse thread screws in softwoods. A stop collar locks onto the bit shank with a set screw and stops the drill at the precise moment the pilot hole pierces the end of the pocket. Without this collar, you risk drilling clean through the workpiece or leaving the pilot hole too shallow for threads to bite.
When buying a bit, look for ones with a hex shank that won’t slip in the drill chuck under high torque. Quality stepped bits are milled from high speed steel and have a distinct shoulder that creates a flat bottom in the pocket. You can order a replacement bit designed for popular jigs, because it will have the correct geometry for your homemade bushing. Setting the stop collar accurately requires a test piece of scrap that matches your project thickness.
Adjust the collar so the bit tip just barely exits the workpiece inside the pocket, leaving a clean outlet for the screw threads. Always tighten the set screw firmly and check the depth on a fresh test cut after every change. Keep a dedicated hex key attached to the jig so you can make quick micro adjustments. Consistency here is what turns a homemade tool into a production asset.
Jig Body Design Options: Wood vs. Metal
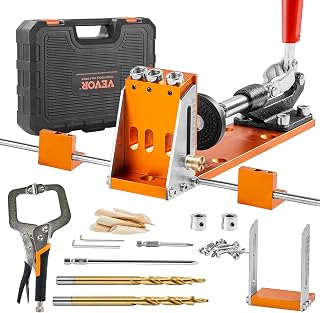
VEVOR Pocket Hole Jig Kit, 34 Pcs
Check PriceA hardwood jig body is the easiest to build and can be shaped with basic tools. Dense woods like hard maple resist abrasion and hold bushings securely when glued in place. Over time, the angled hole will wear slightly, but you can refresh it by reaming and inserting a new bushing. Many professional woodworkers keep a wooden jig in their kit specifically for one off angles that commercial jigs cannot achieve.
A metal body jig, often a hybrid of aluminum plate and steel guides, offers exceptional durability. You can machine aluminum flat bar with a drill press and tap threads for set screws that lock the drill guide in place. This approach demands more metalworking skill but results in a jig that will last a lifetime. Whichever material you choose, ensure the base is perfectly flat so it sits flush on the workpiece without rocking.
Consider adding a non slip pad, like a piece of router mat, to the bottom of the jig. This prevents the jig from shifting during plunging and protects the surface of your good wood. If you opt for a metal body, adhesive backed cork or rubber works just as well. A secure, flat stance is just as important as the angle itself for clean pocket holes.
Clamping Mechanisms for a Homemade Jig
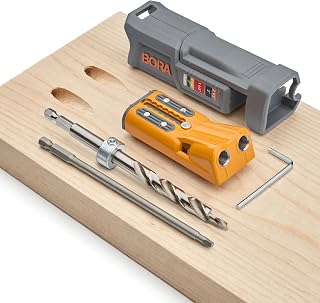
BORA Pro Compact Metal Pocket Hole Jig Kit
Check PriceEffective clamping is what separates a frustrating experience from fast, repeatable joinery. The simplest method uses a single F clamp that pinches the jig body and workpiece against your bench. Slide the clamp’s fixed jaw under the bench top and place the swivel pad directly over the jig’s centerline, then tighten firmly. This setup works remarkably well for individual parts and requires no extra hardware on the jig.
For higher volume work, build an integrated toggle clamp into your jig’s base. Mounting a horizontal toggle clamp lets you press the workpiece against the fence with one quick lever motion. You can also embed a knurled brass threaded insert and use a plastic handled bolt to lock the board in place. These built in clamps eliminate the need to reposition a separate tool every time you move to a new joint.
If you want the ultimate homemade system, consider a bench mounted station. Build a larger base plate that gets permanently fixed to your work surface, featuring slots for multiple clamping positions. This allows you to quickly reposition the jig and drill pocket holes along the entire length of a long rail. The same idea is used in pro level jig systems, proving that good clamping ideas cross over effortlessly.
How to Determine the Perfect Pocket Hole Angle
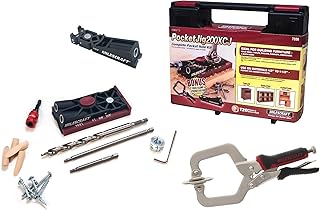
Milescraft PocketJig200XCJ
Check PriceThe industry standard pocket hole angle is 15 degrees, measured from the face of the board. This shallow angle provides the longest possible screw purchase inside the mating piece while keeping the screw head buried deep in the pocket. Steeper angles would risk the screw poking out the back side, especially in thinner material. If you need to deviate, a 10 degree angle can work for thicker stock, but it reduces the clamping force slightly.
Your jig’s angle is set by the tilt of the drill guide bore. When you first cut that angled hole in the hardwood block, double check it against a digital inclinometer. Even a one degree error will cause the screw tip to drift off center when you join boards. Build a small test jig with a scrap piece and drill into an offcut to confirm the screw lands exactly in the middle of the mating board’s edge.
If you frequently work with plywood or melamine, stick to the 15 degree setting. These materials are less forgiving of angular mistakes because their layered construction can delaminate if the screw exits near a veneer line. By maintaining that standard angle, your homemade jig will produce joints that are indistinguishable from those made by a premium factory tool.
Step by Step: Drilling Your First Pocket Holes
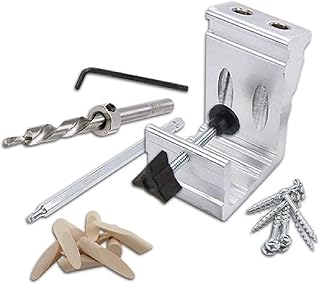
General Tools Woodworking Pocket Hole Jig Kit
Check PriceSet your jig on the bench with the fence pressed against the end of the workpiece. Clamp everything securely and set your drill to its highest speed setting for clean chip ejection. Insert the stepped bit into the bushing and start the drill before the bit touches the wood, then plunge smoothly in one continuous motion. The stop collar will halt the bit at precisely the right depth, leaving a perfect pocket.
Watch the chip ejection carefully. A well designed jig allows the chips to escape freely, preventing heat buildup that dulls the bit. If you notice the bit struggling or smoking, back it out, clear the flutes, and reduce your plunge speed slightly. After drilling, examine the pocket under a bright light; the shoulder should be flat and free of tearout, and the pilot hole should be centered in the channel.
Practice on pine or poplar first before moving to hardwoods like cherry or walnut. Softwoods forgive slight misalignments and allow you to fine tune the stop collar without damaging expensive lumber. Once you can drill ten consecutive pockets that look identical, you’re ready to assemble your actual project. That consistency is the hallmark of a well built homemade jig.
Tips for Using the Jig with Different Wood Thicknesses
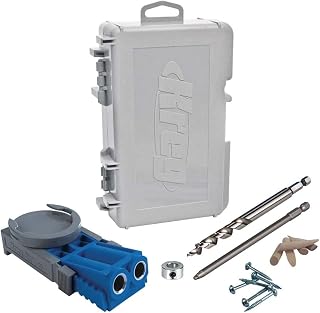
Kreg R3 Pocket-Hole Jig System
Check PriceMaterial thickness directly dictates screw length and collar depth. For ½ inch stock, use 1 inch fine thread pocket screws and set the collar to stop the bit sooner. For 1 ½ inch thick lumber, switch to 2 ½ inch coarse thread screws and adjust the collar outward accordingly. Create a small reference chart on the side of your jig marking the collar positions for common thicknesses so you never have to guess.
Hardwoods require a slightly larger pilot hole to prevent splitting, while softwoods grip the screw even with a tight pilot. If you hear a cracking sound when driving the screw, back it out immediately and drill the pilot one size larger. Keep a second stepped bit on hand that is a few thousandths oversized for use with brittle exotic species. This simple kit expansion makes your jig far more versatile than a one size fits all setup.
When joining boards of different thicknesses, always drill from the thinner piece into the thicker piece. This maximizes thread engagement in the receiving material and prevents the screw from poking through the face. The 15 degree angle does the rest of the work, pulling the two pieces flush as you drive the screw home. Test the joint with no glue first to verify the clamping action, then add adhesive for permanent assembly.
Common Mistakes When Making a DIY Pocket Hole Jig
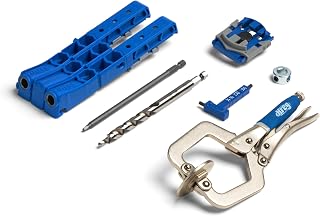
Kreg Pocket-Hole Jig 320
Check PriceOne frequent error is using a softwood block for the jig body. Pine and fir wear quickly, causing the guide hole to oval out and the angle to drift. Within a dozen joints the drill bit will start to chatter and produce messy pockets. Always pick a dense hardwood or use a metal bushing from the beginning to avoid this slow degradation.
Another mistake is ignoring the fence offset. If the fence places the pocket too close to the board’s edge, the screw will exit near the end grain and lose most of its holding power. Too far from the edge and the screw head won’t pull the joint tight. Calibrate the fence distance by drilling a test pocket and measuring how much material remains between the pocket exit and the board’s far side.
Finally, skipping the stop collar check leads to ruined work. After drilling just a few holes, the set screw can vibrate loose, allowing the bit to plunge deeper. Mark the collar’s position with a permanent line and visually confirm it before every session. According to a detailed article on pocket hole joinery basics, correct depth control is the single most important factor in joint strength. That discipline elevates a homemade jig to professional standards.
Jig Maintenance and Longevity
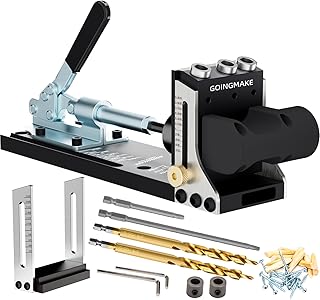
GOINGMAKE All Metal Pocket Hole Jig Kit
Check PriceKeep your jig accurate by cleaning the drill guide after each project. Blow out wood dust with compressed air and inspect the bushing for any signs of scoring. If you used a wooden guide hole without a bushing, apply a drop of thin CA glue occasionally to refresh the hardened surface. Dull bits cause more wear than sharp ones, so sharpen or replace your stepped bit at the first sign of burning.
Lubricate the guide bushing lightly with paste wax, buffing off any excess. The wax reduces friction, helping the bit run cooler and last longer. Avoid oil based lubricants that attract dust and form a gummy residue inside the bore. A quick wipe down after each session is all it takes to keep the tool in prime condition for years.
Store the jig in a dry drawer away from moisture and extreme temperature swings that can warp a wooden body. If your jig includes metal components, a light coat of camellia oil prevents rust. Treating a homemade jig with the same care you’d give a high end hand plane ensures it remains a trusted part of your workshop arsenal indefinitely.
Comparing DIY Jigs to Store Bought Alternatives
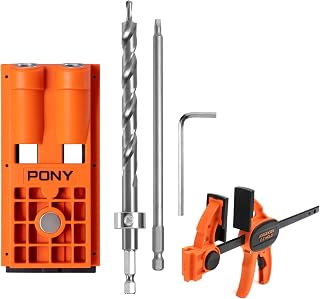
Pony Complete Pocket Hole Jig Set
Check PriceCommercial jigs come with hardened steel drill guides, built in clamping, and precisely calibrated fences. They’re ready to use out of the box and backed by replacement part warranties. For a production environment where time is money, a premium jig like the models available at choosing a high quality pocket hole jig often pays for itself in speed. However, the cost can be prohibitive for a hobbyist who only builds a few projects each year.
A well made DIY jig can match the accuracy of a mid range store bought unit, especially if you use a quality bushing. The main tradeoff is convenience. Adjusting the fence depth and switching between material thicknesses takes a few extra minutes on a homemade tool. But the satisfaction of using a jig you built yourself, and the ability to customize it for odd angles or special joinery tasks, gives the DIY route a unique advantage.
Your choice comes down to volume and personal preference. Even if you eventually upgrade to a factory jig, the process of making your own will teach you more about joinery than any manual. Many woodworkers keep both, using the DIY jig for portable repairs and the commercial one for shop assemblies. The skills you gain by creating the tool transfer directly to every future project you build.
Frequently Asked Questions About Making a Pocket Hole Jig
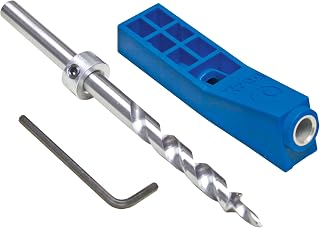
Kreg MKJKIT Mini Jig Kit
Check PriceCan I use a regular twist drill bit instead of a stepped bit?
Regular bits lack the pilot point and shoulder, so they will drill a straight hole that doesn’t create the flat pocket for the screw head. You need the stepped profile to form a clean pocket and a smaller guide hole in one operation.
What is the best wood for making a jig body?
Hard maple and white oak are top choices. They are dense, stable, and resist the friction of high speed drilling without deforming. Avoid softwoods, plywood, and MDF because they wear rapidly and lose accuracy.
How long will a homemade wooden jig last?
With proper care and occasional re hardening of the guide hole with CA glue, a hardwood jig can handle hundreds of pockets. If you install a steel bushing, the lifespan becomes virtually unlimited, rivaling that of commercial jigs.
Can I make a pocket hole jig without a drill press?
Yes, you can drill the angled guide hole with a hand held drill if you build a simple angle block as a visual reference. Clamp the workpiece firmly and go slowly. The accuracy will be slightly lower, but it’s still perfectly functional for most home projects.
Conclusion:
Building your own pocket hole jig puts a custom, reliable joinery tool in your hands for very little money. The process sharpens your layout skills, reinforces the principles of angle and depth control, and gives you a tool that fits your specific workflow. Once you experience the strength of a perfectly executed pocket hole, you’ll reach for that homemade jig every time you need a fast, hidden joint.
Disclosure: As an Amazon Associate, we earn from qualifying purchases at no extra cost to you. Our posts are created with AI tools and human editing.